You can customize the way events look in your published calendars by setting the specific background, text, link, and hover colors you want.
Tip While this topic focuses on event colors, you take the same approach when applying colors to directory (custom object) records.
I'm looking for help on how to edit the styles for calendar views.
I'm looking for help on how to edit the styles for spuds.
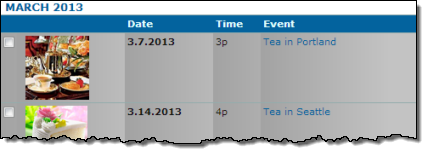
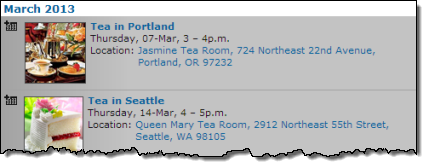
The following images show the same events customized in very different ways. They also illustrate, using two different views, how you can coordinate calendar view and event customization.
List view customization: Group header (March 2013) color set to match the event link color; image border color set to a darker shade of the event hover color.
Table view customization: Column header background color set to match the event text color; column header text set to match the event background color.
Tip Event color settings apply at the publication level. That is, one set of event color settings applies to all of the calendar views you publish.
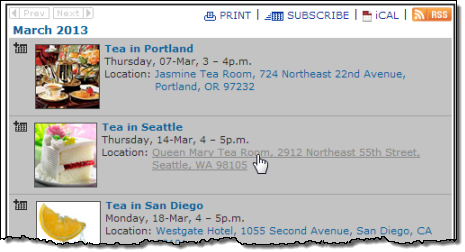
Customized event background, text, and link colors, List view
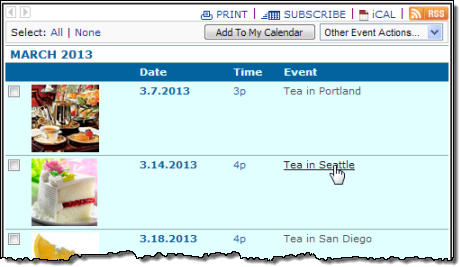
Customized event background, text, and link colors, Table view
You can customize event colors in two places:
What you can set: event background and text colors.
What you can set or modify: event background color; background color fade effect; text color; link and hover text colors.
Question If I can do more customization in the Publishing Control Panel why should I bother doing any in the editing environment?
No matter what background and text colors you set in the editing environment, in Edit Calendar Colors, the colors for the calendar you publish will always be the default colors (white background, black text, black link and hover text).
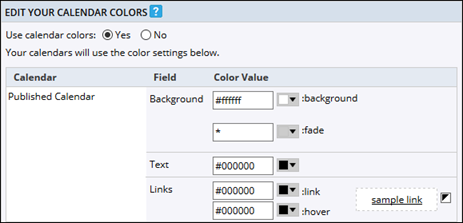
Default event color settings on the Edit Calendar Colors page. Select Yes to customize and apply the settings on this screen. Select No to apply the colors you've set globally. Learn more: Get the most out of the Color Picker.
Mixed-in calendar event colors were set in the editing environment
For example, in the following Classic Table view, the table header background and column name colors are calendar not event attributes.
Where can I find more information about base styles and inheritance?
How do I customize calendar views?
Specific calendar view attributes not affected by event color settings include:
In the editing environment, 25Live assigns default background and text colors to each new calendar you create.
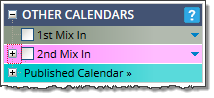
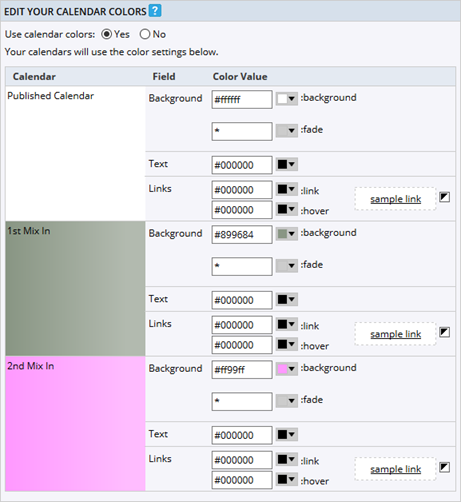
Unless you customize 2nd Mix In's colors, the background and text colors for that calendar's published events will be pink and black.
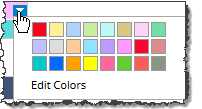
You can see the 24-color default palette 25Live uses by clicking the down arrow to the right of a calendar's name.
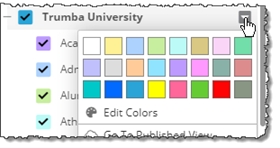
Default color palette
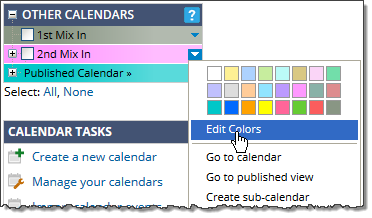
Click the down arrow to see a color palette and a context menu.
Is there somewhere I can see the hexadecimal values for the 25Live Publisher palette colors?
Or, to apply your own custom color scheme, click Edit Colors, and go on to the next step.
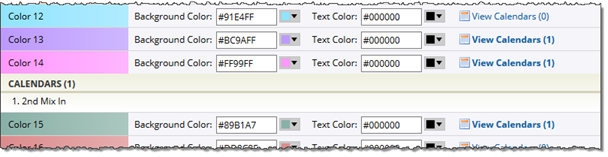
The calendars list is expanded below Color 14. In this case, only one calendar, 2nd Mix In, is using this particular color.
Warning If more than one calendar appears in a color's calendar list, changes you make automatically apply to every calendar listed.
Where can I find instructions for using the Color Picker?
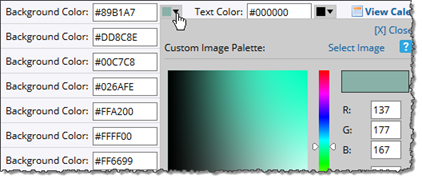
Using the color picker to change the background color.
Back in the editing environment, the calendar reflects the new colors you set.
Tips
The top left color in the palette is now red instead of the default white.
Don't use reset if you want to keep some changes but not others. To change an individual color back to its default color, find the hexadecimal values for the default colors here.
To see and customize event color settings in the Publishing Control Panel, you go to the Publish Settings tab, and then the Edit Calendar Colors page. The event colors you see depend upon the background and text colors you customized in the editing environment.
How do I customize colors in the editing environment?
In the publishing Edit Calendar Colors window, you have more options than you had in the editing environment. In addition to setting the background and text colors, you can set link and hover text colors. You can also modify or remove a fade (gradient) effect that is applied to the background color.
Tip The background and text colors you set here also determine the colors of the calendars listed in the Calendar List control spud. Learn more.
If you're publishing the calendar for the first time, on the Publish page, select the calendars you want to mix in. Select the other settings you want, and then click Publish.
Editing Calendar Colors window with the published calendar in white and two mixed-in calendars with colors carried over from the editing environment. Why is the published calendar white?
Where can I find instructions for using the Color Picker?
Tip For the background color, a fade, or gradient, is set automatically. You can modify the fade settings or remove the fade effect altogether. Learn how.
Tip It's a good idea to preview event colors after you set them. To preview, you must have at least one future event on the calendar. Click the Calendar Spuds tab. Under Main Calendar Spud or under one of the calendar views, click Preview.
By default, events use one color for the background to which a fade (gradient) effect is automatically applied.
With the default fade effect setting (note the asterisk in the fade field), the event background color has a subtle darker-to-lighter gradient applied.
Tip The fade effect looks different in different calendar views. Be sure to preview your fade effect settings for each calendar view you added on the Calendar Spuds tab. Show me an example of how the fade effect looks different in different views.
You can modify the fade effect or remove it altogether.
In the fade field, type or use the Color Picker to find the hexadecimal value for the second color.
To fade from one color to another, add a hex value to the fade field.
Copy the hexadecimal value from the background field and paste it into the fade field.
To remove the fade effect altogether, use the same hex value in both the background and fade fields.
Tip To revert to the default fade effect setting, replace the hex value in the fade field with an asterisk (*).
As the following images illustrate, the fade effect is applied differently in different calendar views.
If you decide to apply a fade effect to the background event color you choose, take these steps:
Default fade effect, Classic Table view
In Classic Table view, the fade effect is applied to each table column individually.
Default fade effect, List view.
In List view, the fade effect extends across the whole event.